使用Github搭建了个人博客之后,本想随时记录工作中的问题。但是因为Hexo本地编辑,远程部署。所以如果要想达到“随时记录”,还需要做一些在多终端同步的工作。
思路:
通过github的分支,把本地的Hexo源文件推送到github的分支上进行管理。如果要在新的终端上维护更新博客,先和远程的分支同步,然后再推送+部署。
步骤:
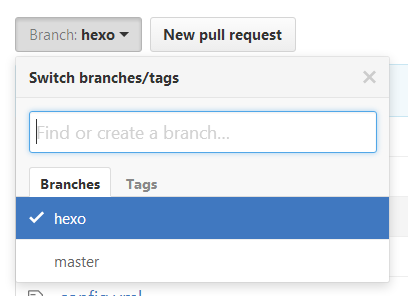
- 先在远程仓库新建一个branch,比如hexo
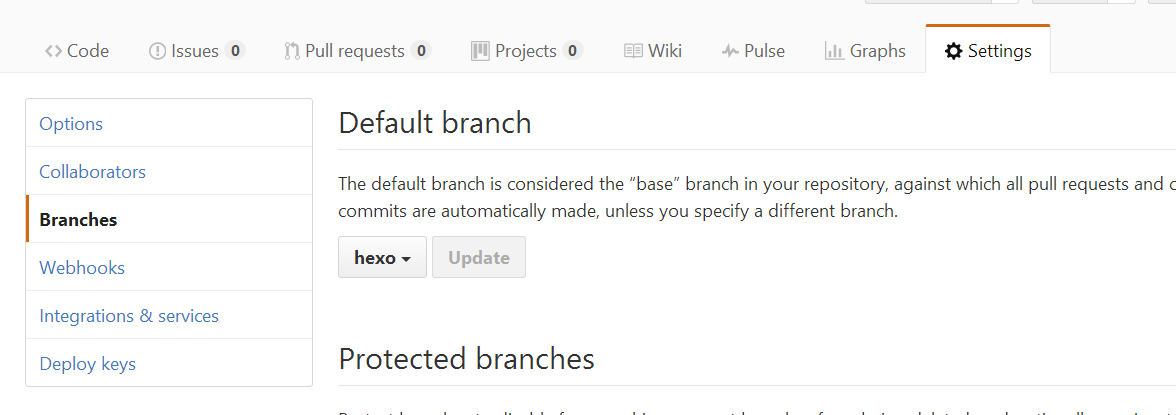
- 接着将hexo的分支设为默认,
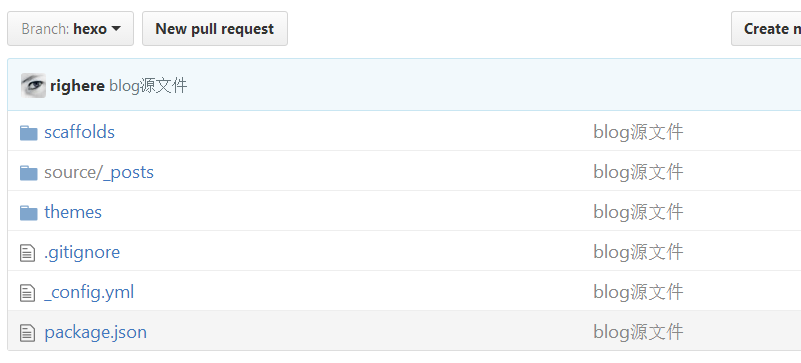
将源文件上传到hexo分支
注意这里有个巨大的坑!!!如果你用的是第三方的主题theme,是使用git clone下来的话,要把主题文件夹下面把.git文件夹删除掉,不然主题无法push到远程仓库,导致你发布的博客是一片空白
初始化本地仓库:
git init
添加本地所有文件到仓库:
git add -A
添加commit:git commit -m "blog源文件"
添加本地仓库分支 hexo:git branch hexo
添加远程仓库:git remote add origin git@github.com:yourname/yourname.github.io.git
将本地仓库的源文件分支hexo强制推送到远程仓库hexo分支:git push origin hexo -f
上传完成之后,我们就拥有了两个远程的分支:master和hexo, 其中master是部署成博客的分支; hexo是我们可以clone到其他电脑或者其他系统的hexo源文件的分支,而且我们已经将它设置成默认仓库;
- 在其他电脑设备上执行clone远程仓库的hexo分支clone到本地
git clone -b hexo git@github.com:yourname/yourname.github.io.git
进入本地仓库执行hexo安装: npm install
- 编辑本地的blog之后,编辑发布博客
依次执行 git add., git commit -m "改了啥", git push origin hexo, 同步本地仓库到远程
部署发布博客: hexo g, 这样就生成静态网页部署到了github中